

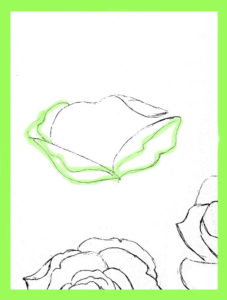
How To Draw A Rose Petal
I have been playing around with drawing roses, trying to come up up with an easy way to do it for anyone that might like to. I wound upwards with this tutorial. Requite it a try. It might have a flake of practise, just if y'all keep at it, shortly plenty, at that place will exist sketches of roses all over your house (believe me, I know).
How To Draw Roses
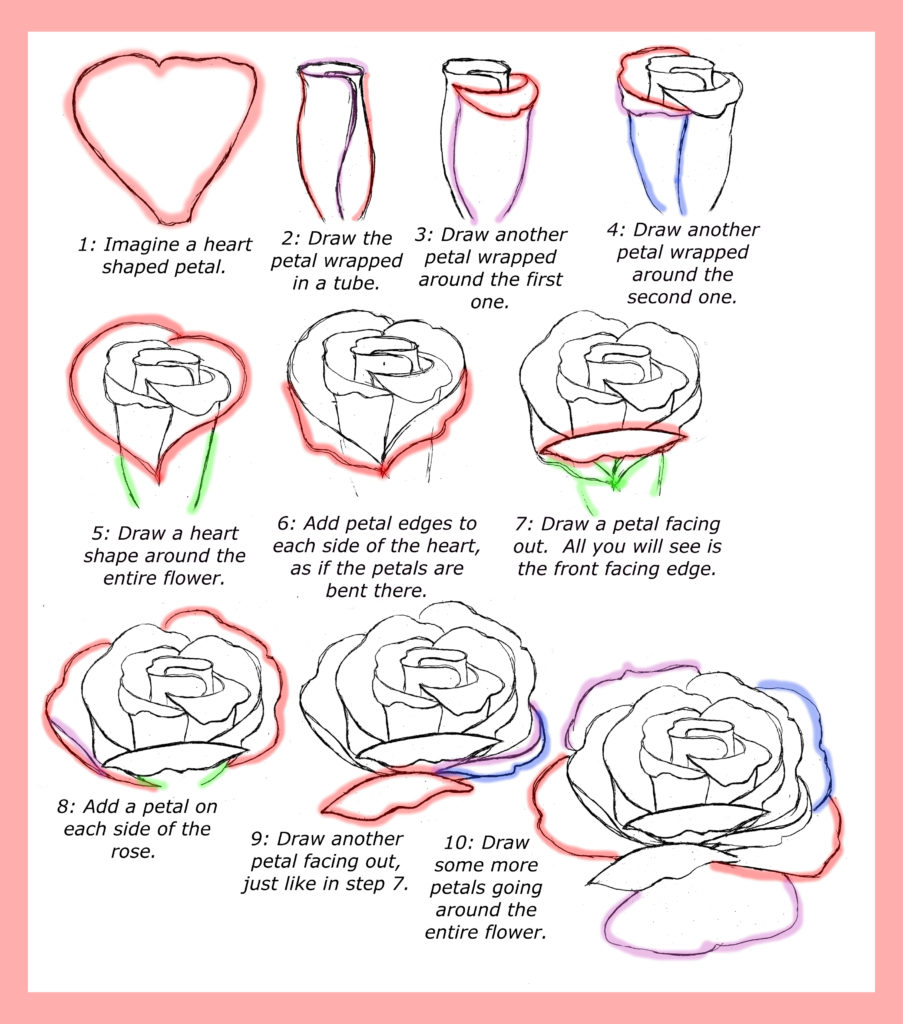
I made this quick poster to show how to do it right away, and then if you want more details, scroll below. You lot tin can see that I used dissimilar colors for each step. Pink/ruddy was the first color: as in the first line to be done on each pace, purple is next, and blue is last, the light dark-green is what was erased at the stop of the step. Beyond that, it's just imagining the petals, like in step i, and putting them together to form a bloom. Whether you are doing a sideways view, or view from the pinnacle, information technology's all about putting the petals together.
***This page contains chapter links.***
For the 3 roses I drew below, I used the Macro Refine Colored Pencils which I got for my birthday. They were different then the Prismacolors that I love and apply all the time, but a decent cheaper pick for anyone that would want to color with pencils. I also used Strathmore Bristol Newspaper, xi by 14 inches for this cartoon.
How To Depict Roses: Detailed Footstep by Step Directions
I drew 3 roses, the get-go one is facing the viewer, the second 1 is a bit sideways, and the final one is facing one-half way away from the viewer.

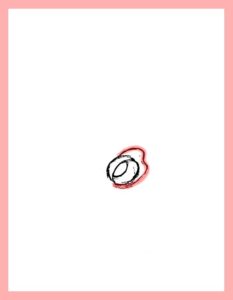
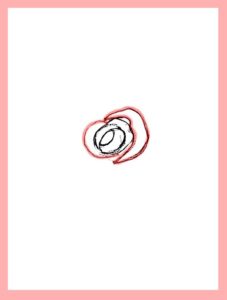
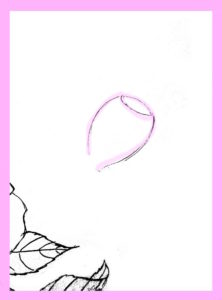
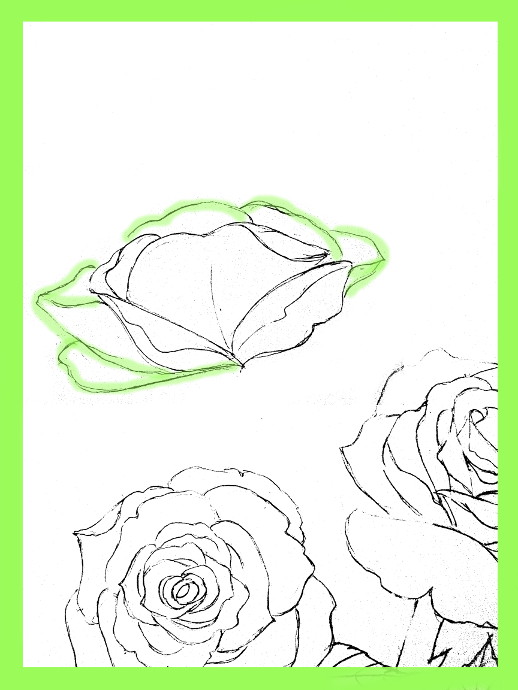
Start by drawing a small oval shape. That will be the middle of the rose. Add a few lines for the within of the center and the outside of the heart. And then begin calculation petals.
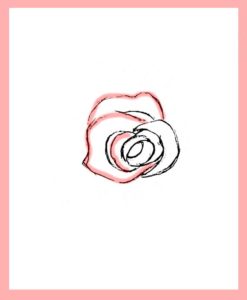
Keep adding rose petals radiating from the center. They are just slightly curved lines going around in the circle when you lot retrieve about it.

Go on calculation more and more than petals as yous go. I similar to make some of the petals a bit pointy toward the center.

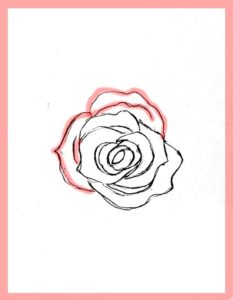
For the rose that is facing the viewer, but proceed working in a circle, adding anywhere between 3 to five petals for each layer.
Attempt to make certain that the flower looks somewhat balanced. For the photo on the right, I put dots to indicate which petals were drawn first.
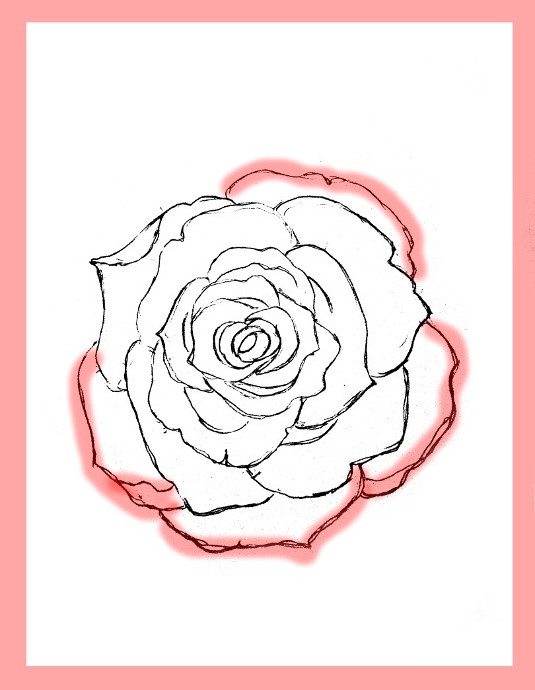
Add a few more petals going all around the circle. All done with the start flower!
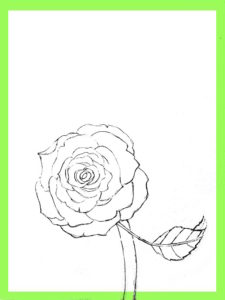
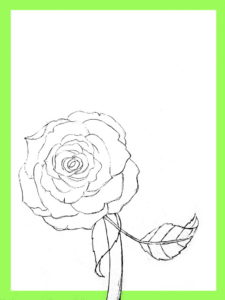
Don't forget to add a stem and a few leaves.
Here is the first rose completely done, and the beginnings of the 2nd rose.
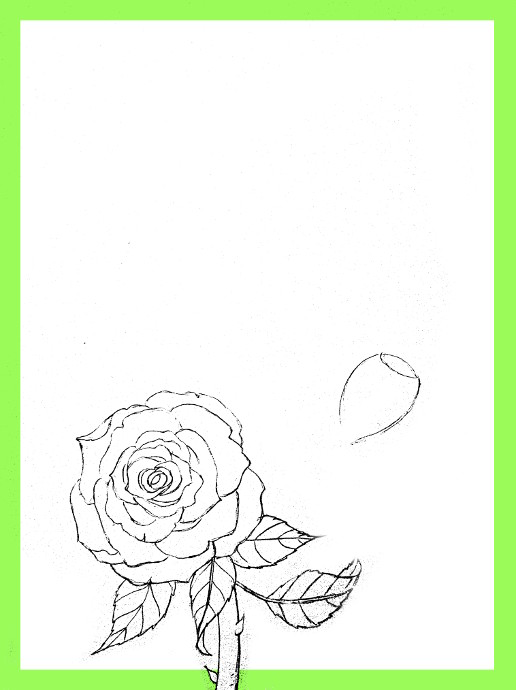
Time to do the second blossom!

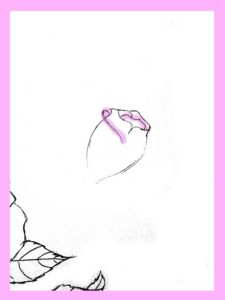
For the second flower, start with a tube with a slight opening, similar the photo on the left. Then, change the opening past adding a few curved lines to indicate petals.
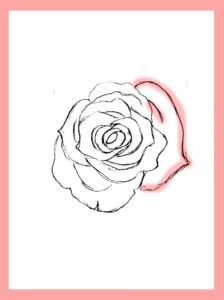
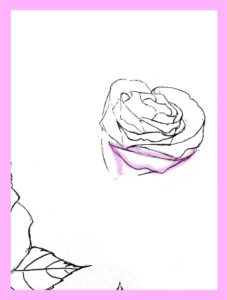
Go on at it. To depict a petal that wraps around the rose heart, brainstorm at the outer line of the center, and bring the line effectually to the front end, similar the photo on the left. After that, you can add 2 lines extending from each cease of the newly formed petal, and describe a slightly curved line to signal the the petal is bent a flake at the edge.


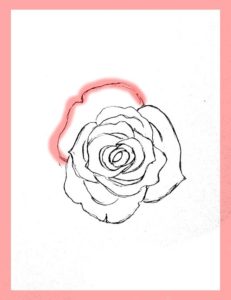
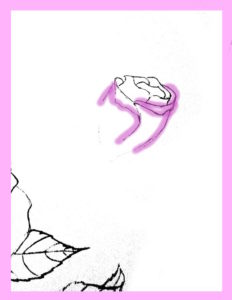
To make a slight opening, draw two curved lines going from the back of the rose (photo on the left). The lines should course a heart like shape in the front of the rose. Then add together a few more indications that the petals are aptitude and curved (photo on the right).
Each time yous describe a petal, add together lines extending from the edge, downward to the base of the rose (photo on the let). Add together one more petal, this one is facing out more, so the viewer can only run across the curved office (photo on the right).


Continue adding petals, now expanding outwards more, so that they expect open. Make certain that they are 'attached' (in a style of speaking) to the base of the rose.
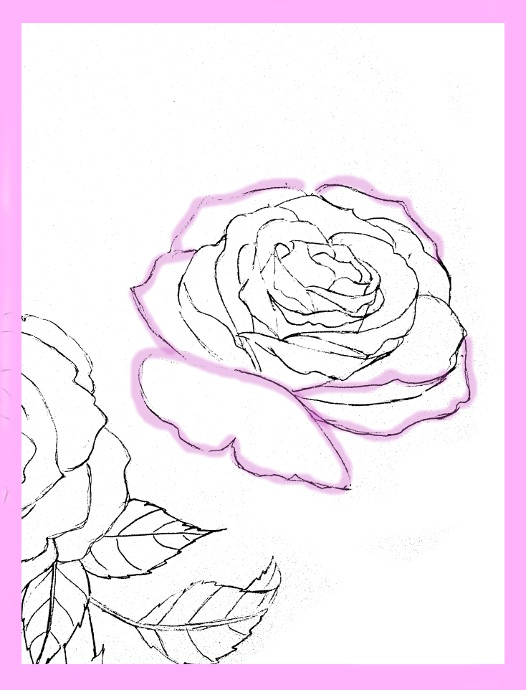
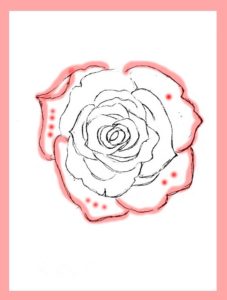
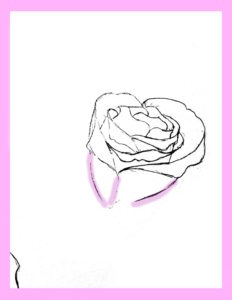
Equally the concluding step, add a few more petals all around, including one that's bending outward. As you can run into from the photo, that petal covers a role of the base.
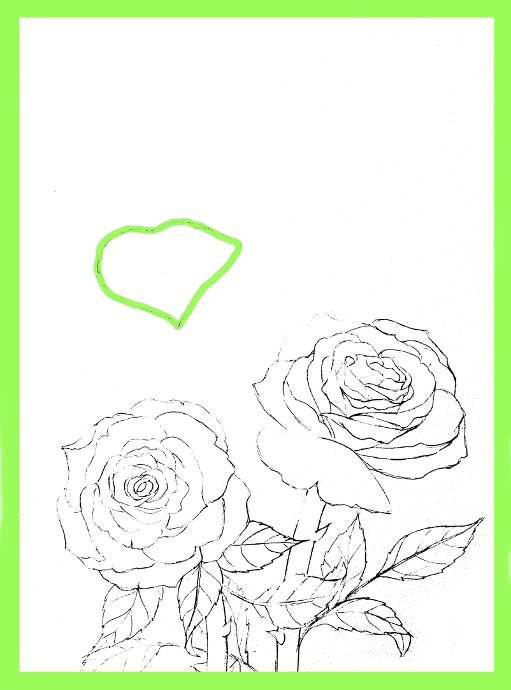
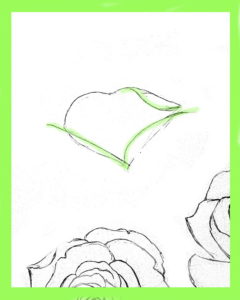
Make sure to draw a stem and a few leaves for the second rose. Information technology is time to start the tertiary rose. This time, it's facing away from the viewer, and so I start with 1 center shaped petal, but like in the photograph above.
I add together a few petals, not too many, all attached to the base of the rose.
Add even more petals showing from behind the first part of the rose.
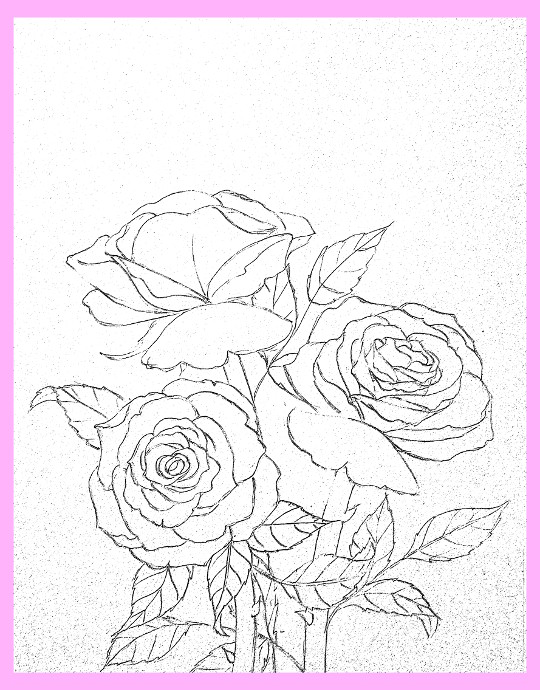
I added one more petal facing outward, simply like in the 2nd flower, and a stem with some leaves.
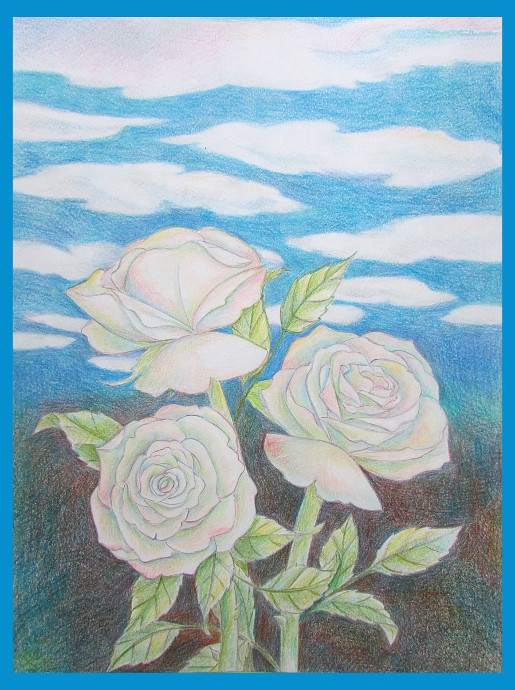
Coloring The Roses White:
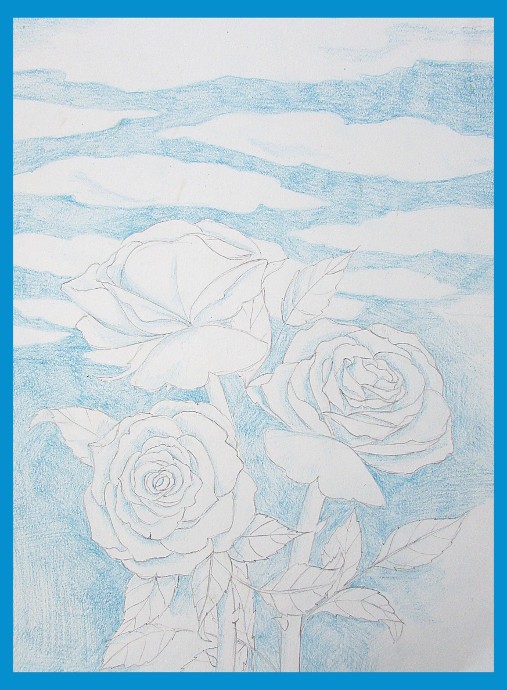
I wanted to make information technology await like at that place is an open sky in the groundwork, so using a light blue, I drew a few clouds. Then using the same calorie-free blueish, I colored in a bit of shadows on the roses and leaves, a bunch of blue for the sky, and the groundwork. All washed in 1 colour.
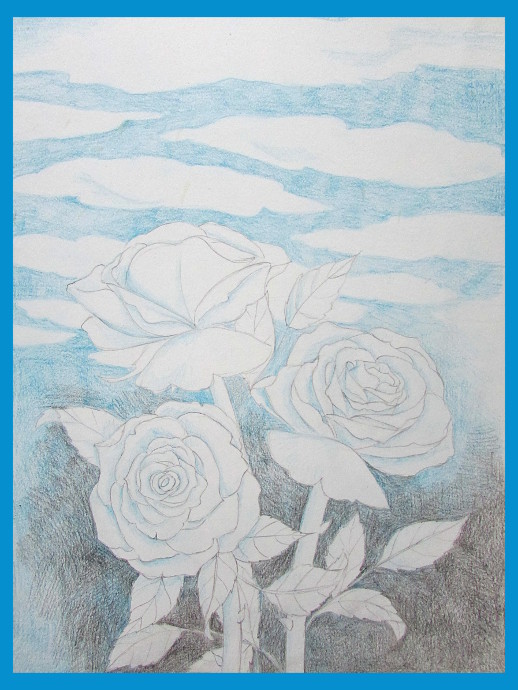
Next, I used black to darken the lesser of the page, where information technology'due south not merely the sky, but what ever background might exist in that location.
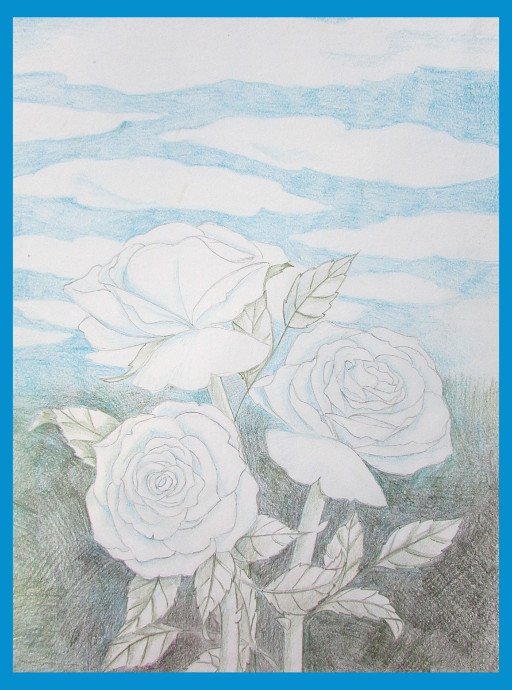
Next I used dark pine green to add together even more dimension, and even some details on the leaves.
Using a calorie-free dark-green, I added more colour to the leaves and stems, and more shading for the white roses.
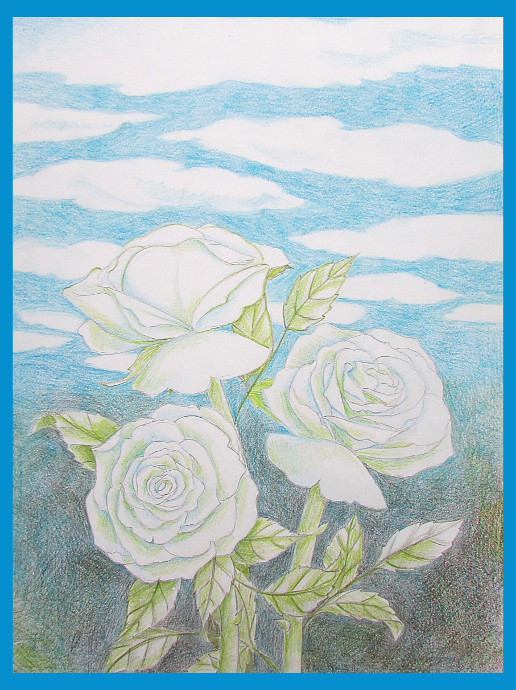
Since white is really just a collection of diverse colors, I used some pink, tan and yellow to add shadows to the roses. I also used silver to exercise a bit of shading on the clouds, and added more blues to the heaven and the roses.
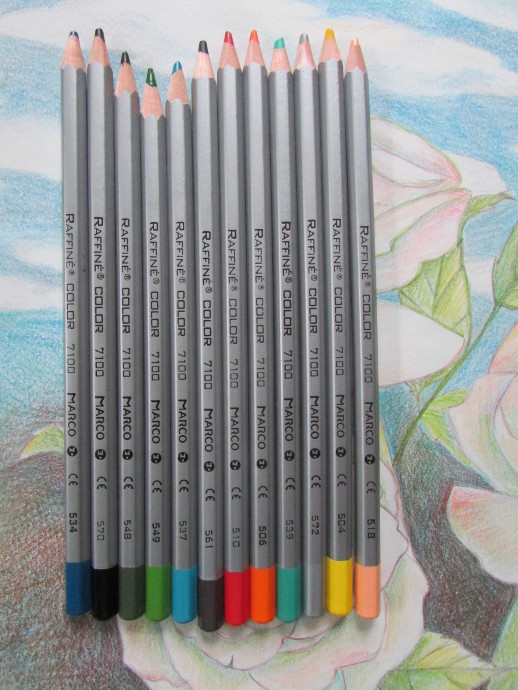
These are the colors I used so far. In order I used from left to right. Every time I used a color on the film, I fabricated sure to use information technology to darken the bottom portion of the pic.
Next I used bits of purple, and more blue for the sky and to darken the bottom surface area.
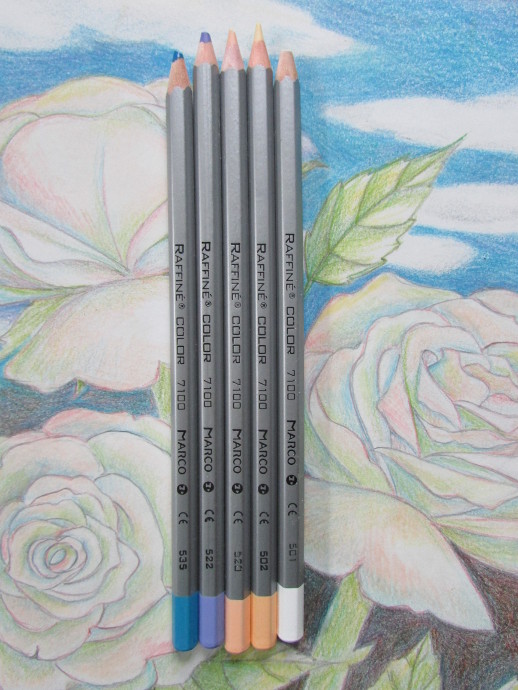
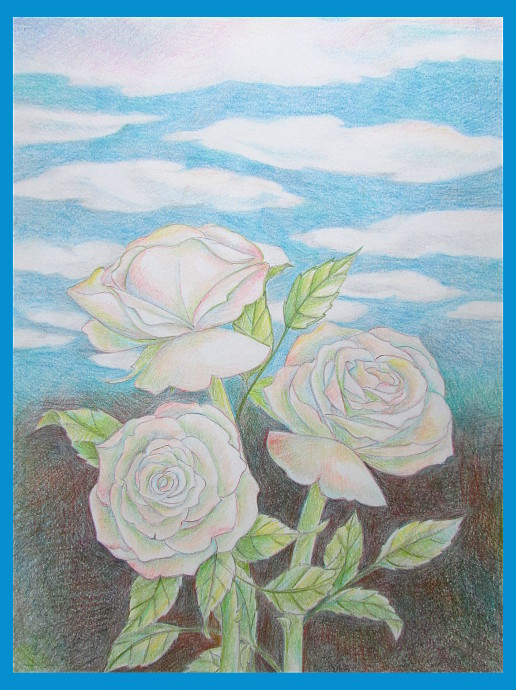
I used the five colors to a higher place to add to the sky and the roses. The white pencil I used profusely on the white areas of the flowers and the clouds. I too added more than greens to the leaves and stems.
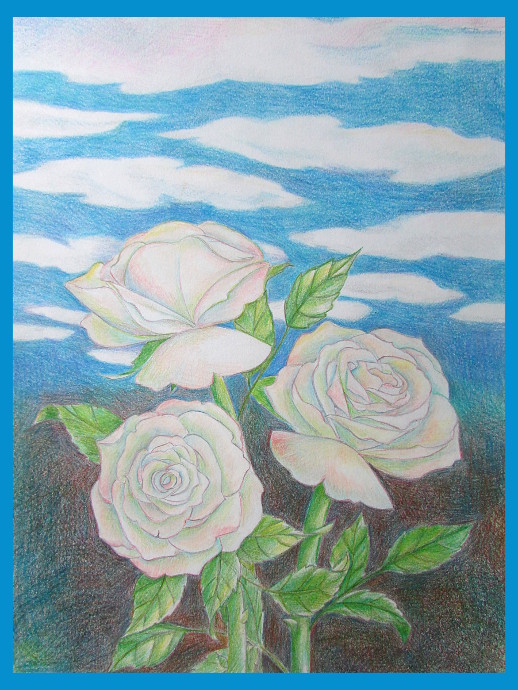
Here is the final result, I do wish the colors were a bit deeper, simply I will endeavor again next time:

Source: https://www.happyfamilyart.com/art-lessons/learn-to-draw/how-to-draw-roses/
Posted by: watkinsniess1969.blogspot.com
0 Response to "How To Draw A Rose Petal"
Post a Comment